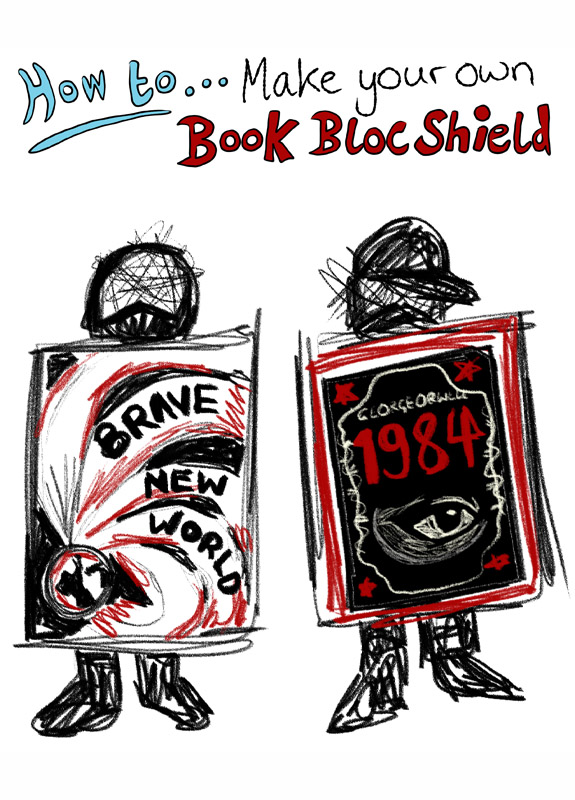
If you’re going on a demo, whether you are facing fascists from the public or private sector, it is absolutely vital that you prepare some defensive measures. Now a good thick road-wide banner is pretty good, and at a pinch some bin lids will do the job, but really there are three opinions for the fashionable Block Bloc on the go. 1- Buy/Steal manufactured public-order shields. You’ll want to smaller round ones, or at a push the older medium sized ones. These are however expensive and quite heavy. 2- Foam shields, made famous by the summit-hopping protests your cool auntie used to go to. These are somewhat unweildly but stack them up on the front line and they are grand and look mint. 3- Light weight, multi-layed short shields. Simple and elegant, very demure. very mindful. they can also be stacked and parked behind the sofa. Let’s make one! Now bear in mind, your first one is gunna be a bit messy, but make a dozen of them and next time you go to a demo, you can gear up the squad and not only look sick but keep yourselves protected from the scrum, baton waving, and the odd missile. Gear: Directions: Starting with the paper cover the back in the glue, apply the next layer and so on. When you are done, peg the corners down and put something heavy on top and leave to set overnight. Use the inner tube for your fore-arm as it will be most comfy and a few wrappings of string (or bungee cord) for the handle. Ideally the handle should be on the tighten side with the arm strapping being looser. This will give you balance between control of the shield, mobility, and comfort. Finally, make a few with your affinity and practice using them in the garden or at the park. There are many different “methods” to organising yourself but with a shield such as this your role is mobile defence. Organise in teams of 6 with someone being the designated shot caller, a role that you should all learn and which can be assigned ad-hoc. Come up with fun names for formations and practice! When you go to a demo, form up with over Shield Blocs, bring spare shields and run new people through the drills. When things get going, flank any march and put yourselves up front when it gets lively. Stay safe out there and remember that is we who keep us safe! Many thanks to Tiny for the art! Tiny makes art on intersectional anarchist themes, mainly for protests, propaganda and supporting pals in prison. See more of their scribbles on instagram: @tiny.anarchist.rat
Drill/hand-drill. Scissors/knife.
6 x clothes-pins/pegs.
Spreadable glue/wheat paste.![]()
Ingredients:
2x 75x100 cm of good thick cardboard.
1x 75x100 cm card or paper.
1x 75x100 cm of a solid core material. (Polycarbonate, foamcore, plexiglass or even wood. Aim for at least 2-3cm thick)
6x 300mm cable ties.
1x old inner tube. (clean and slit in half)
100cm of parcel string, or sisal if you’re middle class. (Bungee is also good)
Your box of paints, paintbrushes, markers, stencils, stickers, tape, glue, glitter, etc.
1 x large sheet of clear plastic wrap, tarp or gaffer tape for weather proofing.
Prepare you workspace, layout an old tarp or newspaper. Stack your sheets into a stack: Cardboard - Core material - Cardboard with the Paper on what will be the front.
When it’s ready, measure out points 3cm from the edges at the corners and mid-way. Drill a hole through each one. The put a cable tie through each one and secure it as tight as you can. Try and finish it so the nub is pointing inwards on top of the hole.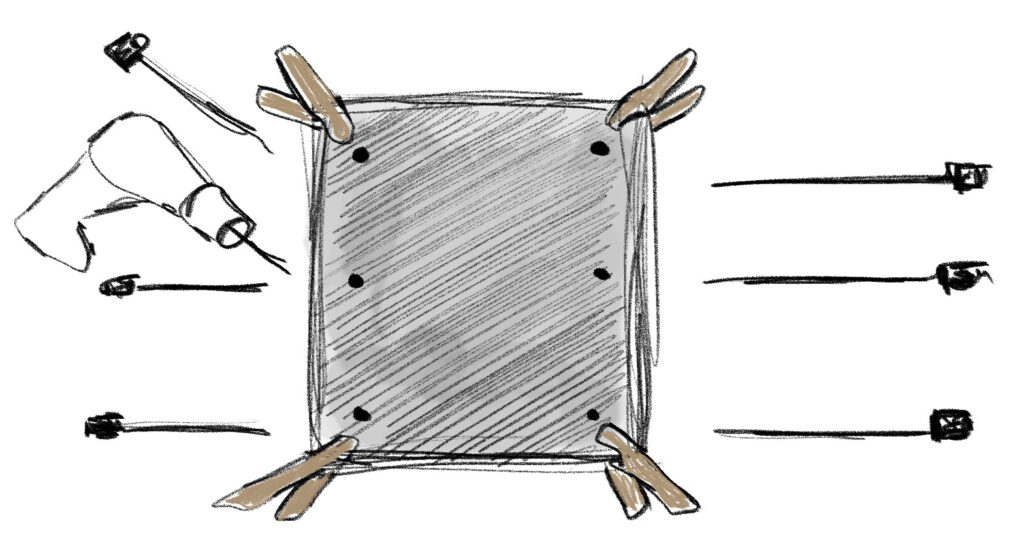
On the inside you want to layout where you’ll want the handles and arm brace. Ideally you’ll be wanting to use you off arm and I’d line it up at a 45 degree angle. Feel free to experiment and practice your arm position to find what works best.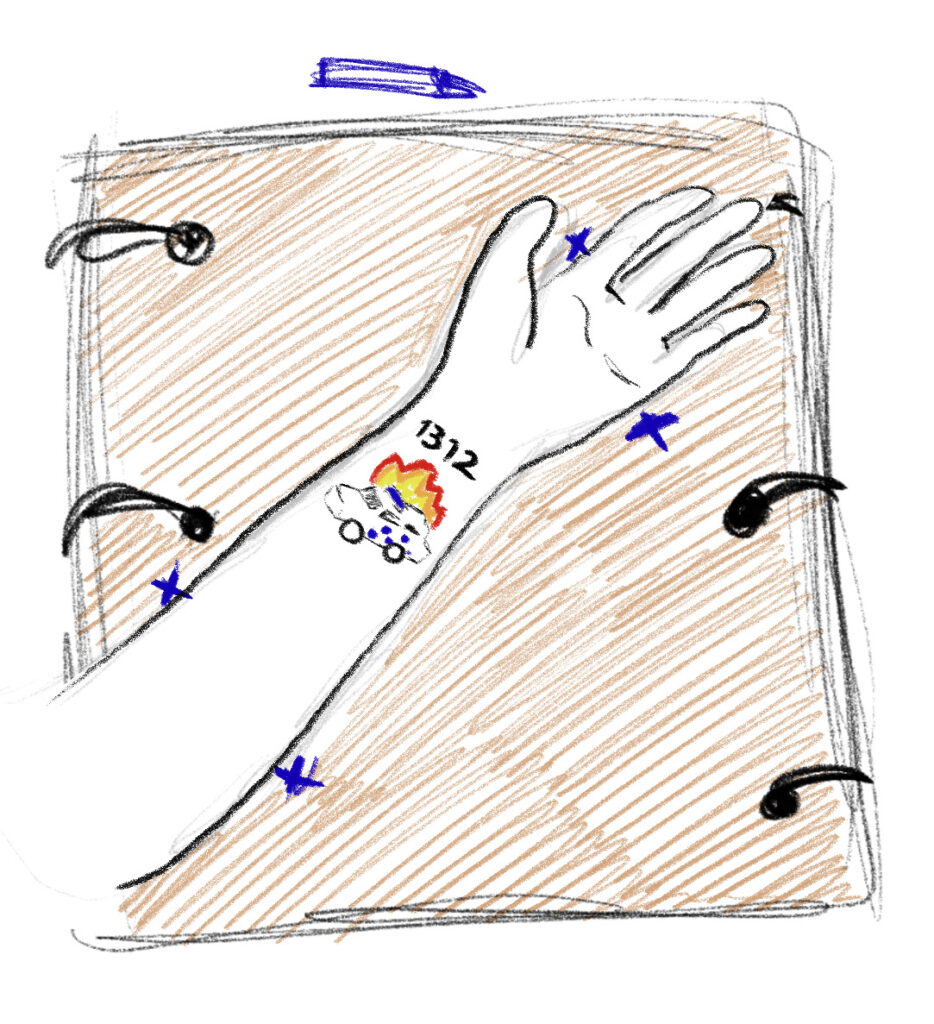
Mark out holes on either side of your palm and mid-way up your fore arm. The want to be as tight to your material as possible.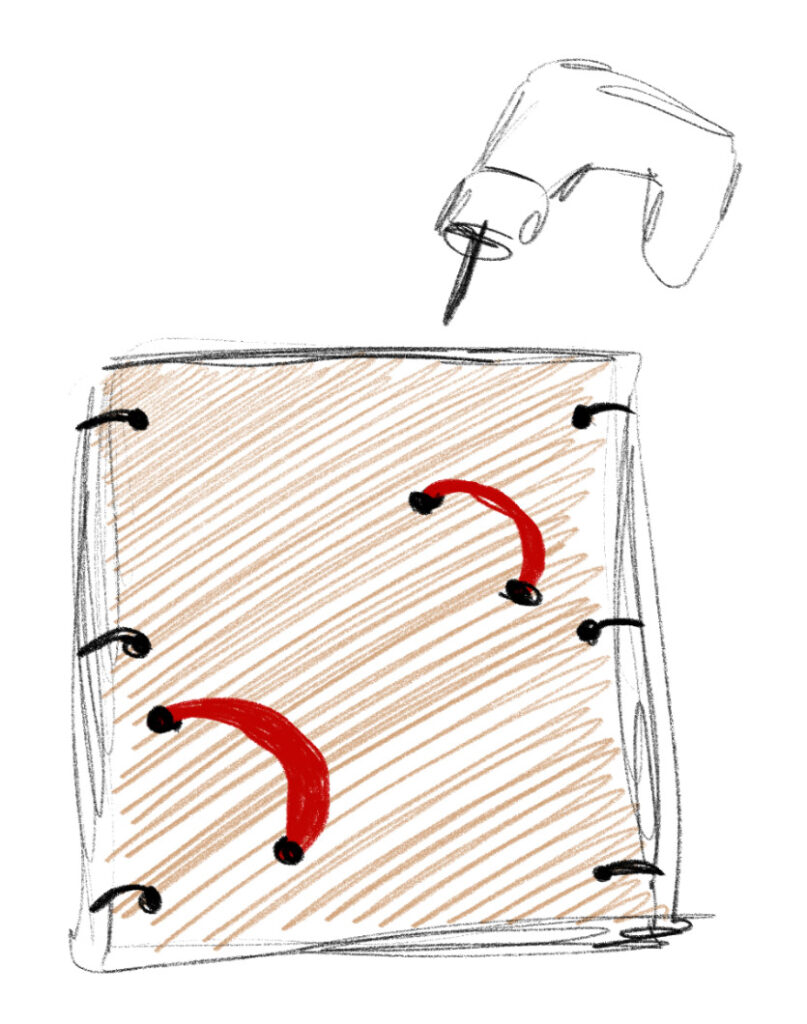
Then it’s time for ART ATTACK!
Cover that bad boy in your org’s ident, a pithy quote, your favourite book, logos, flags, zentangles, whatever.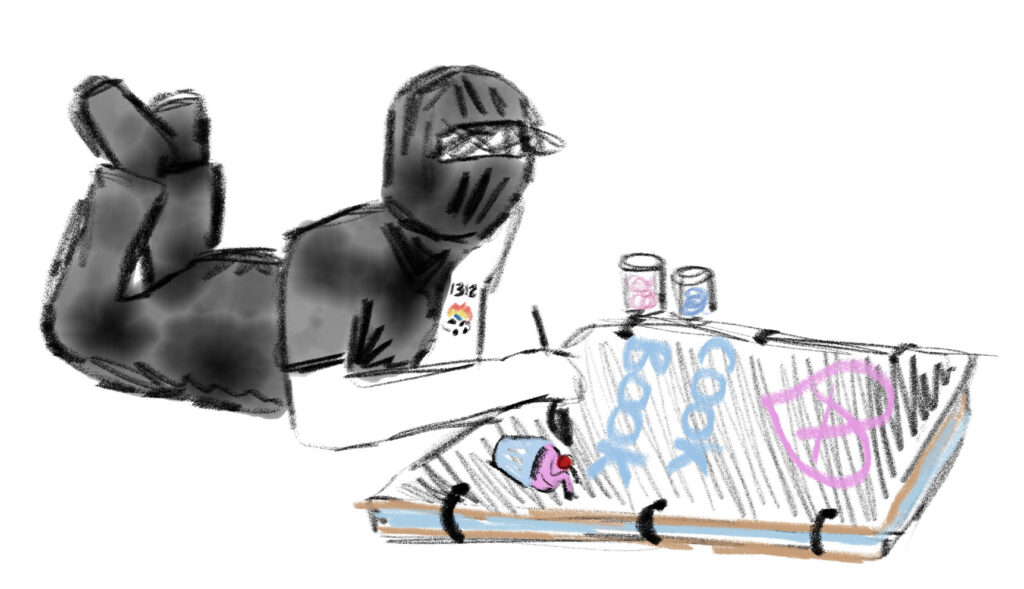
Finally when the paint is dry wrap clear plastic around the shield. cover it in the wrap or tape or what have you. You want to make sure that the holes and edges especially are covered so the train would wreck it and make it mouldy after a few outings.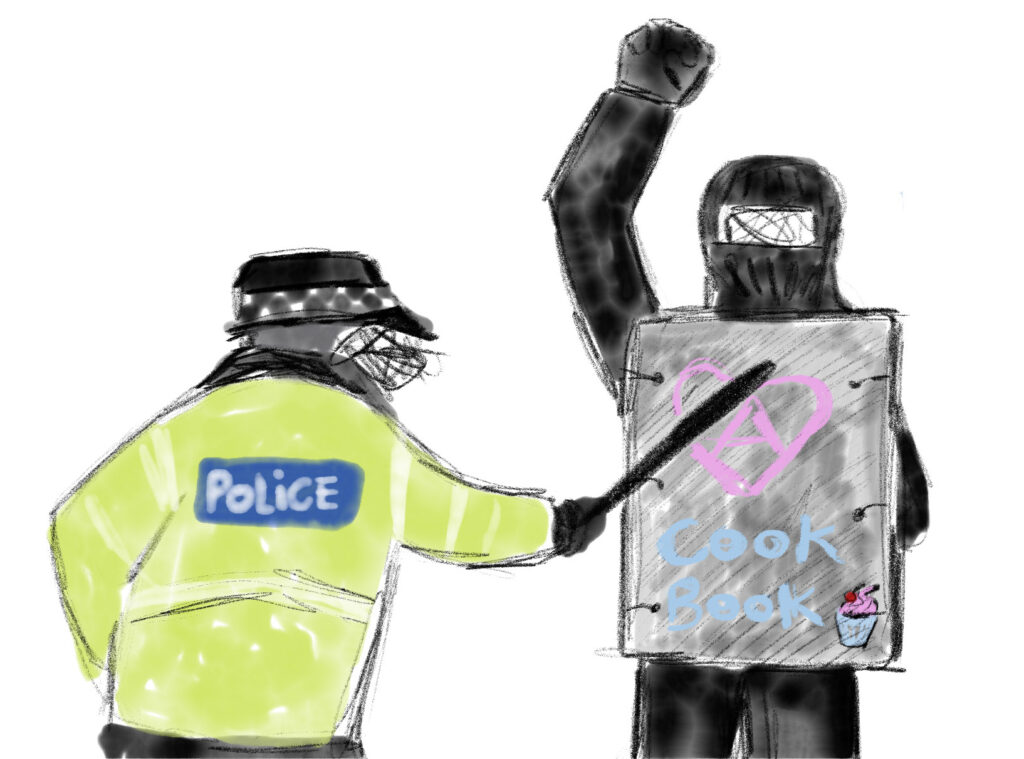
Organise!
Tuesday 17.6.2025